


A desk by a window can feel heavy, you know? This one doesn't fight it—instead it leans right in. Warm walnut, black hardware, a few carefully chosen objects scattered around. Nothing fussy, nothing forced. It just feels right. And honestly, most of what's happening here is stuff you can totally steal for your own setup.
Start with the desk and the view


The whole thing starts with a wood desktop—rounded edge, nothing fancy—pushed right up against a big window. The key move? Don't hide the view. Keep the middle open so your monitor and whatever's outside line up in your sightline. Toss a black mesh chair underneath, and suddenly the wood tone connects everything—the desk, the floor, the shelves behind you. That one material choice carries the whole look, so everything else can just be dark and minimal.
Raise the screens, free the surface


Here's where it gets smart. A wooden riser lifts your main display and boom—you've got storage space underneath that actually gets used. The laptop sits on an adjustable arm off to the left, angled toward you instead of just sitting flat. A tablet arm lives on the right side, holding a screen up for a clock or whatever reference stuff you need. Everything's floating, which means your actual desk surface stays basically empty. Just keyboard, mouse, and breathing room.
Quick version of the approach:
- Stick the monitor on a riser—that space underneath isn't wasted anymore.
- Mount the laptop on an arm. Flat on the desk is gone.
- Only add a tablet arm if it's actually replacing something else.
- Keep the center clear. That window view is part of your workspace.
Keep the working layer simple


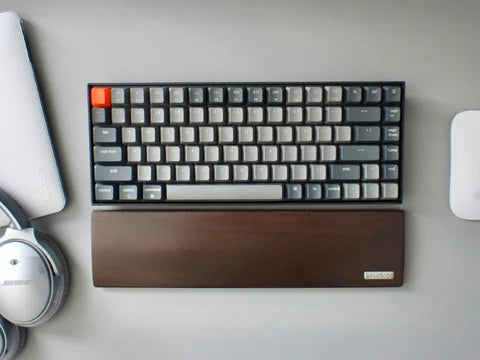
The keyboard's a compact mechanical one with a dark case and these copper accents that catch the light just right. It sits on a felt sleeve that works double-duty as a wrist rest. A big black desk mat covers most of the work area, silver mouse to the right. On the left, a small notebook and a metal cup within arm's reach. Nothing's there just to look good—everything has a reason, and that mat basically draws a line between "working zone" and "everything else."
Use the riser shelf for the small stuff


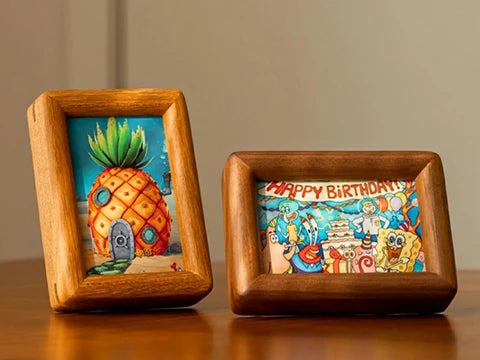
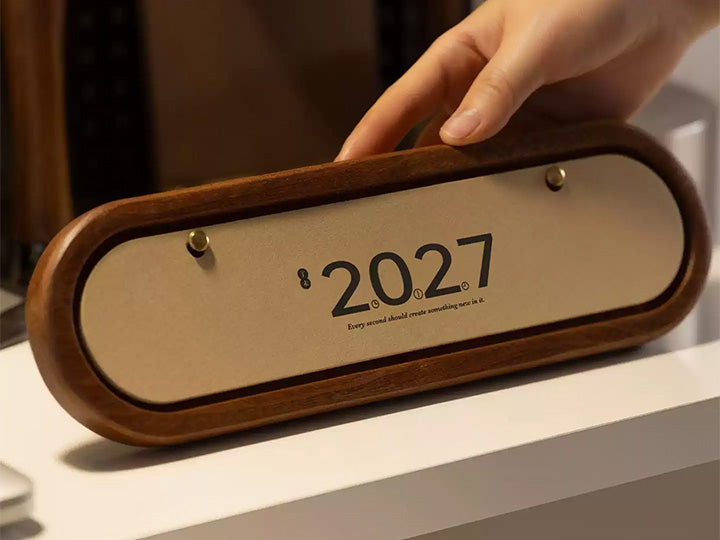
Under and around that riser is where all the little things live—the stuff that'd normally just scatter across your desk. A white power strip hides underneath. A digital clock with bright numbers faces your way. Books slide into the gap next to it. On top, a small dish holds a couple tiny figurines, and your monitor wallpaper is this warm coffee-shop scene that echoes the wood tones. A leather-wrapped speaker edges the right side. Behind everything, shelves hold more books and a plant. It's not a ton of storage, but it's enough to keep your main surface clear.
Let the light and screen do the rest


A monitor light bar clamps to the top of the display and throws light down where you need it, without washing out the screen. Between that and the window light coming in, you're bright all day. No extra lamps cluttering things up. Here's a small trick that actually works: pick a wallpaper that matches your desk materials. That coffee cup and notebook scene on the screen? It makes the monitor feel like part of the room instead of just this black rectangle sitting there. Intentional without trying too hard.
Editor's Notes & Summary
This setup works because the big choices all line up: warm wood for the surfaces, black for the hardware, and that open center that keeps the window view alive. The riser, the arms, the little tray—they're all there to handle what would otherwise pile up on the desktop. If you're building a desk by a window, start with the surface and get the screen height right. After that, only add storage if it actually takes something off your desk.
- Desk: wood-topped desk with rounded front edge
- Chair: black mesh ergonomic chair
- Monitor: main display on a wooden riser
- Laptop: mounted on an adjustable arm
- Tablet: mounted on a separate arm
- Monitor light: clamp-style light bar
- Keyboard: compact mechanical keyboard with copper accents
- Keyboard rest: felt sleeve
- Mouse: silver wireless mouse
- Desk mat: large black mat
- Clock: digital clock with bright numerals
- Power: white power strip under the riser
- Audio: leather-wrapped speaker
- Accessories: small dish with figurines, notebook, metal cup, books, plant


Leave a comment