

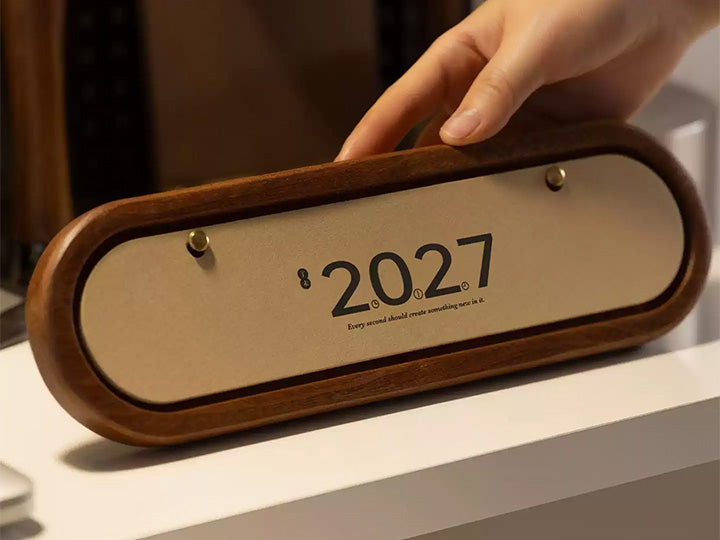


A regular calendar just sits there. But what if your calendar was made from 12 movie posters you actually love, and it glowed like a night light when the sun went down? That's basically this project. It takes about a week to pull together, and honestly, the acrylic box is where things get a bit tricky — but we'll get to that.
Make the Monthly Movie Cards

Grab some high-res movie posters you're actually into. Pop them into InDesign — or just use PowerPoint or Canva if you haven't done layout stuff before. Size everything to 148 × 105 mm and print on 315 g white cardstock. Yeah, it'll run you about 0.4 yuan per sheet, but it feels solid in your hands. For the see-through layer (the one that lets light pass through), grab 210 g translucent paper at around 1 yuan a sheet.
Quick money tip: 250 g white card works just fine, and 100 g translucent paper honestly does the job. Don't stress about getting the absolute heaviest stuff.
Build the Acrylic Storage Box

This is where it gets real. You're cutting custom acrylic sheet and assembling it yourself at home. And here's the honest part — a lot of vendors just don't cut with the precision you need. You design it so the pieces slot together perfectly, but then they arrive and don't actually fit. So if you've got a supplier you trust who cuts acrylic properly, that's your golden ticket. Otherwise, this is definitely the spot where you might want to explore other materials or find someone who actually knows what they're doing.
Add the Night-Light Layer


Slide your translucent-paper movie card into the front of the box. Then stick a controllable light strip — or just a small light — inside. When night hits, the poster glows softly through the paper, and boom, you've got a night light that also keeps track of the year. The cards stay put in the box during the day, so the same piece handles both storage and display.
Wrap-Up
Spend a week printing, cutting, and putting it all together. The real challenge is that acrylic precision thing — sort it out and the rest basically falls into place. You're working with cardstock, translucent paper, and a light. The payoff? A calendar that keeps your movie memories alive and doubles as something actually nice to look at when the lights go down.
- Movie posters: high-res, something you actually watched
- Layout tool: InDesign, PowerPoint, or Canva
- Card dimensions: 148 × 105 mm
- White cardstock: 315 g (about 0.4 yuan each) or 250 g if you're watching costs
- Translucent paper: 210 g (around 1 yuan) or 100 g as budget option
- Acrylic box: custom-cut at home — find someone who cuts accurately
- Light: controllable light strip or small finished light inside


2 comments
For the light, just search “sensor light” on Taobao. Right now it sits under the box; you can see more in my other video post. For the acrylic, I searched “acrylic custom” on Taobao and picked a random vendor. It’s frosted acrylic and cost me about 30 yuan, but the precision isn’t great, so I won’t share the link.
Where did you get the small light and the acrylic box custom-made?